Monday, October 24, 2011

The Last Rafter

72 degrees.  Sunny with almost no wind.

(Sunday)
More of the same today - I cut the remaining rafters down on the saw horses and then glued and nailed the tail section that splays out to make it look like the roof widens at the bottom.  I then moved the ladder around to the four corners and measured, cut, glued and nailed the second 2x6 inside pieces to the upper boards to give them some mass.

Sketchup rendering of the rafters.
Completed rafters.  The dormer and window are next.
Here are a few more pictures from the day.

Doubled up the upper beams.

Almost feels like a loft.
I'll try again to adjust my schedule a little and take a couple half days to work on the dormer window and then begin to install the sheathing.  Once the sheathing is up the building will be somewhat weather tight.  There is a chance of rain on Thursday and the girls keep talking about using the Playhouse for Halloween, which is in just a week.

A little character from Mike when he was living in Egypt.  Now sits upon the timber above the door.

Sunday, October 23, 2011

Cutting Rafters

65 degrees with mostly sun and a few dark clouds.

(Saturday)
This morning I got up and uncovered my stacks of plywood and 2x6 material from the tarps and began building the small triangular shaped sheathing pieces that go around the top ends where the ridge beam now sits.  I glued and nailed these pieces into place and also nailed the ridge beam where it is now centered into the opening.  It is nice to see the stacks of wood finally clearing out.

The two saw horses were setup to hold my one rafter that I'm now using as a master template for all of the other rafters.  I first cut four to then see how they actually fit.  I tried to get all of these measurements accurate back when I had the plywood on the driveway as I was building the end walls but I wanted to just cut four and get them up on the top of the building before I cut the others.  Thankfully they all fit well.

Last bit of sheathing on the top of the side wall is done and the four rafters are nailed onto the outside.
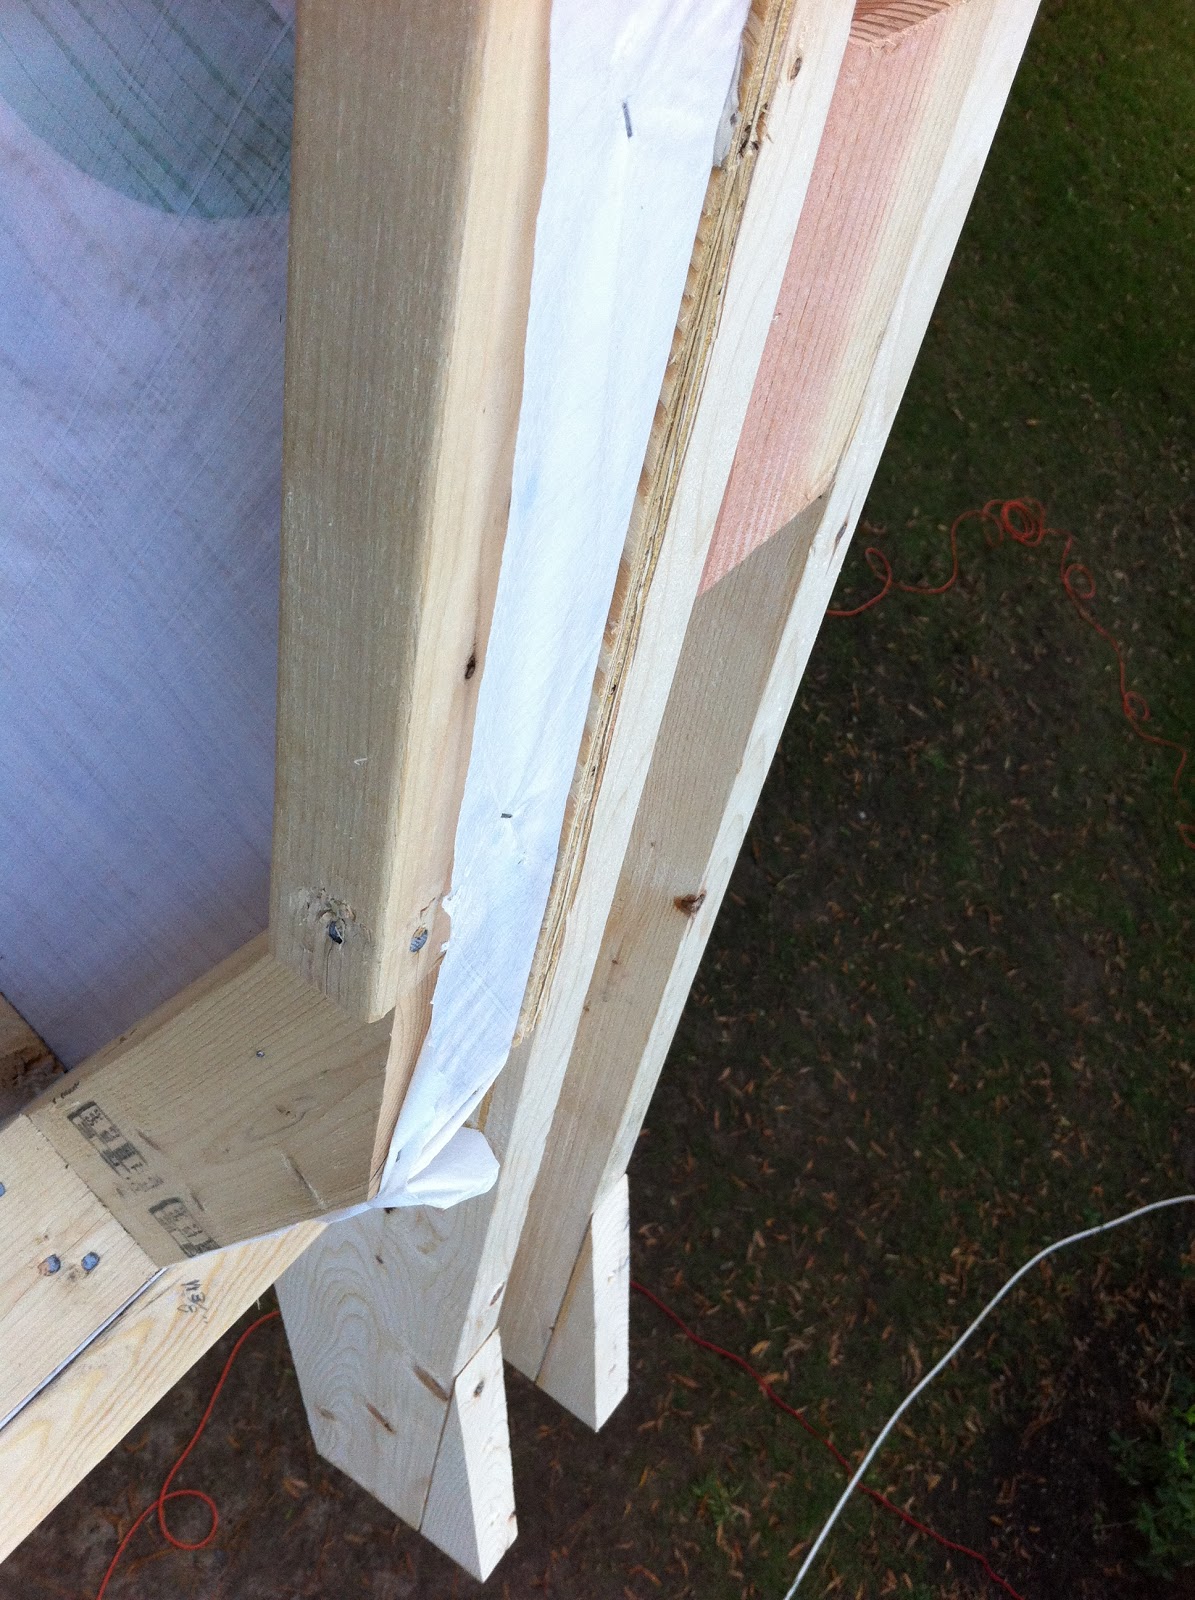
I cut spacer blocks for the rafters that are attached to the outside of the building at a 30 degree angle on the ends of the spacers to make them look nice.  You can also see how I cut the bottom of the rafters to flare out a little.  This is similar to the way the German Pointed House was constructed.

The rest of the day was spent cutting the rafters and gluing and nailing the tails.  The ridge beam had a little bow in it but this was easily resolved by setting in the center rafters and clamping them in to force the beam to be strait.

Fourteen rafters up, fifteen more to go.

Hey, get down from there!

Outer rafters nailed into place.

The rafter template down on the horses.

Nailing in the top of the rafters to the ridge beam.

The center rafter needs to be clamped to force the ridge beam into place.
Well, it was another productive day.  More rafter building tomorrow and then I will be able to start sheathing the back side of the roof and framing the dormer window.


Tuesday, October 18, 2011

Mr. Beam

76 degrees with sun.  Some mosquitoes but I put on a heavy layer of Deet.

I took a little time off from work yesterday and today to get more done on the playhouse before the rains come on Wednesday.  I completed the knee walls, which required house wrap and sheathing and then nailed on the top board that runs along the upper part of the knee wall to allow the roof rafters to attach to the side of the building.  These boards also extend out to support the two outer rafters.

Upper board will carry the two outer rafters.  I still need to double them up.
Last night I decided to end my search on the Internet for the appropriate decorative detail on the ends of the large ridge beam and design it myself instead.  I think it is best to keep it a little simple and also include an upside down finial similar to the actual Pointed House in Germany.

Hand sketch of beam detail and finial.
Back in the garage I created a template for the router to follow over the ends of the beam.  This will give me a consistent cut on both ends and should be fast once I get the template built.  I used some extra plywood that has bead board on the other side.  This actually worked very well because the router did not get hung up on the surface of the template.  Maybe Rockler can sell template material (actually bead board, don't tell).

Weapon of choice.
The template and beam after cutting the first end.  It took several passes to go through that much material.
One finished end; all sanded too.
This is not an advertisement, this is not an advertisement...
Routing one side at a time.  I then flip the beam and cut the other side with a router bit with the bearing on the bottom.
I then looked over my shoulder and saw my neighbor drive home.  He came right over and helped me install the beam.  I could not have done this without him.  We used the hoist to pick up one end of the beam and applied muscle to get it through one window and up to the top openings of the end walls.  The total span of this beam is eighteen feet and seven inches.

Up and through this window opening.
Sun light hitting the end wall.
Looks pretty good.

I can't tell you how happy I am to have that up there.  I then put a tarp over a rope that I strung between the end walls and tacked it to the outside of the knee walls.  This should keep most of the water out when it rains tomorrow.  The weather guy said 100% chance of rain and this was the last day with temperatures approaching 80 degrees.  Should be much cooler from now until April.

Monday, October 17, 2011

Sanding the Ridge Beam

75 degrees and sunny skies.  A few mosquitoes but they were friendly.

(Sunday)
The day again started off early with a run to the home center to pick up more 2x4s to later be used for the knee walls on the long sides of the second floor.  It was a little frustrating today because I found twisted and warped wood in a small pile and kindly asked the guy working in that department to please pull a fresh stack of 2x4s down as I need good material for the project.  I waited about a half hour and another fifteen minutes at the beginning were lost as I entered the store and had to wait for them to move other fencing stock in the isle that I wanted access to.  Still, Home Depot has been good to me.

Back at home I positioned the plywood so that I could use the markings that I made the previous day to cut through two pieces at a time for the sheathing of the end walls.  This worked pretty well and I was able to also cut out the window locations, which made the four pieces much lighter.  By the time I moved all of the cut plywood back around to the playhouse my neighbor Royden came by the give me a hand.  It was great having an extra set of hands to help hoist the wood up to the second floor and to later lift the end walls into position.

I finished stapling on the house wrap and sheathed the end walls up on the floor of the second story and then used a router to neatly cut the edges of the openings to the windows.  We were able to get the walls very level and tacked two long 2x4s at an angle to hold them into position.

Pre-cut sheathing made the day easy.


Helpful neighbor.

Now we can see what the finished playhouse will look like.
After lunch I lifted the heavy ridge beam onto two saw horses and began sanding all four sides and also sanded in a small chamfer on the edges.  The beam looks very nice and has a nice grain pattern.  It will look great once it goes in.  My neighbor and I briefly drew some sketches and talked about the design of the ends of the beam that will protrude from the building.  I decided to wait on this important decision and do a little more research to get it right.

Sanding the twenty foot long ridge beam.

The loop that Lauren lifted herself with.
Lauren had a great time with an idea that she had after seeing the large end walls go up on the hoist.  She looped the purple strap around and sat in it like a swing and began hauling herself up.  The bock and tackle gave her a four to one advantage.  I thought this was funny and wish that I had taken a picture or video.  I would not let her go above my shoulder but I know that she would have been way up in the trees if I turned my back.

At the very end of the day I cut 26 cripples and the four long 2x4 top and bottom plates for the knee walls.  I put the wood up on the second floor and nailed the cripples to the bottom plate and then the plate to the floor on the far side.  I then nailed on the top plate on but it was so dark that I had to feel by hand if the nail gun shot the nail all the way in or if I need to manually hammer it a little more.  I don't plan to work in the dark in the future.

The next step will be to rip some sheathing for the knee walls and then nail in the 2x6 trim on the upper outside of the wall.  These 2x6 boards will be used to hold the bottom of the rafters.  Looks like rain on Wednesday so I may take a half day off from work on Monday or Tuesday.  My goal is to get the roof done before Halloween so that we may use this as a haunted house.  Time will tell.

Sunday, October 16, 2011

End Walls and a Lift Up

77 degrees and beautiful.  Some mosquitoes have decided to head back up from Florida buy they forgot how to sting.

Early this morning I went to the home center to pick up more 2x4 studs as I was running low.  I bought a dozen and thought that was plenty but soon found that I ran out again after completing the framing of the two end walls.  I will need more for the small long walls on the second story and the lean-to addition.

Here are a few pictures from the framing of the end walls that I did on the driveway.


Used the large tablesaw to accurately cut the sides of the walls.


Laying out the framing over three sheets of plywood to square the walls.
Finished one wall, one more to go.
Elizabeth, the two girls and I carried the end walls around the backyard and to the playhouse where I began to tie straps around the header beam above where the window will go.  I then got the chance to use the hoist for the first time and I'm very surprised and happy to say that it worked!

Here is a video that Lauren took during the first hoist of an end wall.


And here are some pictures from the rest of the day.


Tomorrow I plan to finish with the house wrap and apply the sheathing to the end walls and then pick up some more 2x4s so that I can build and install the half walls on the second floor.  It should be a long day.